Crafting Love: A Graphic Designer's Journey to DIY Letterpress Wedding Invitations
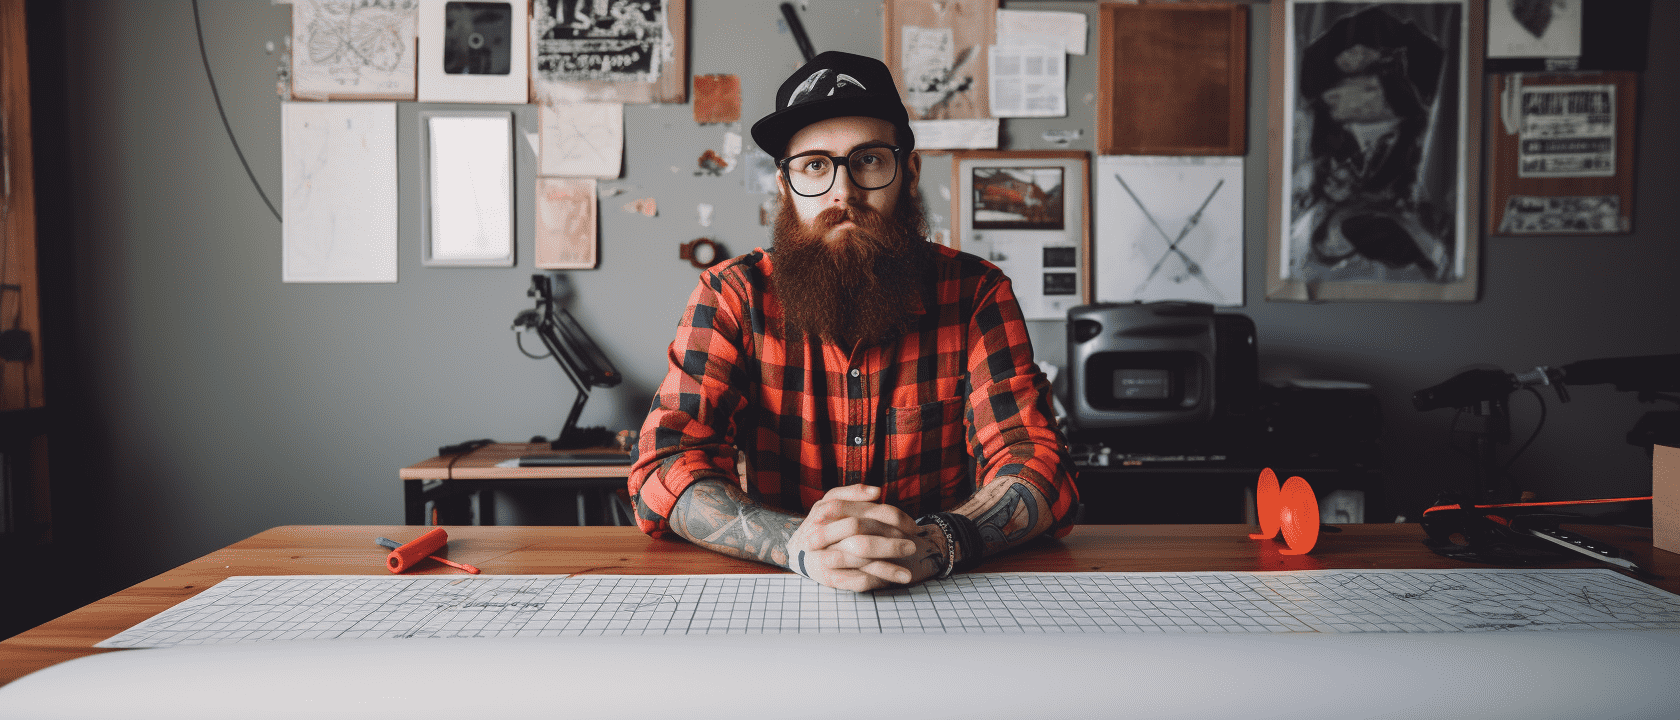
Table of Contents
Introduction
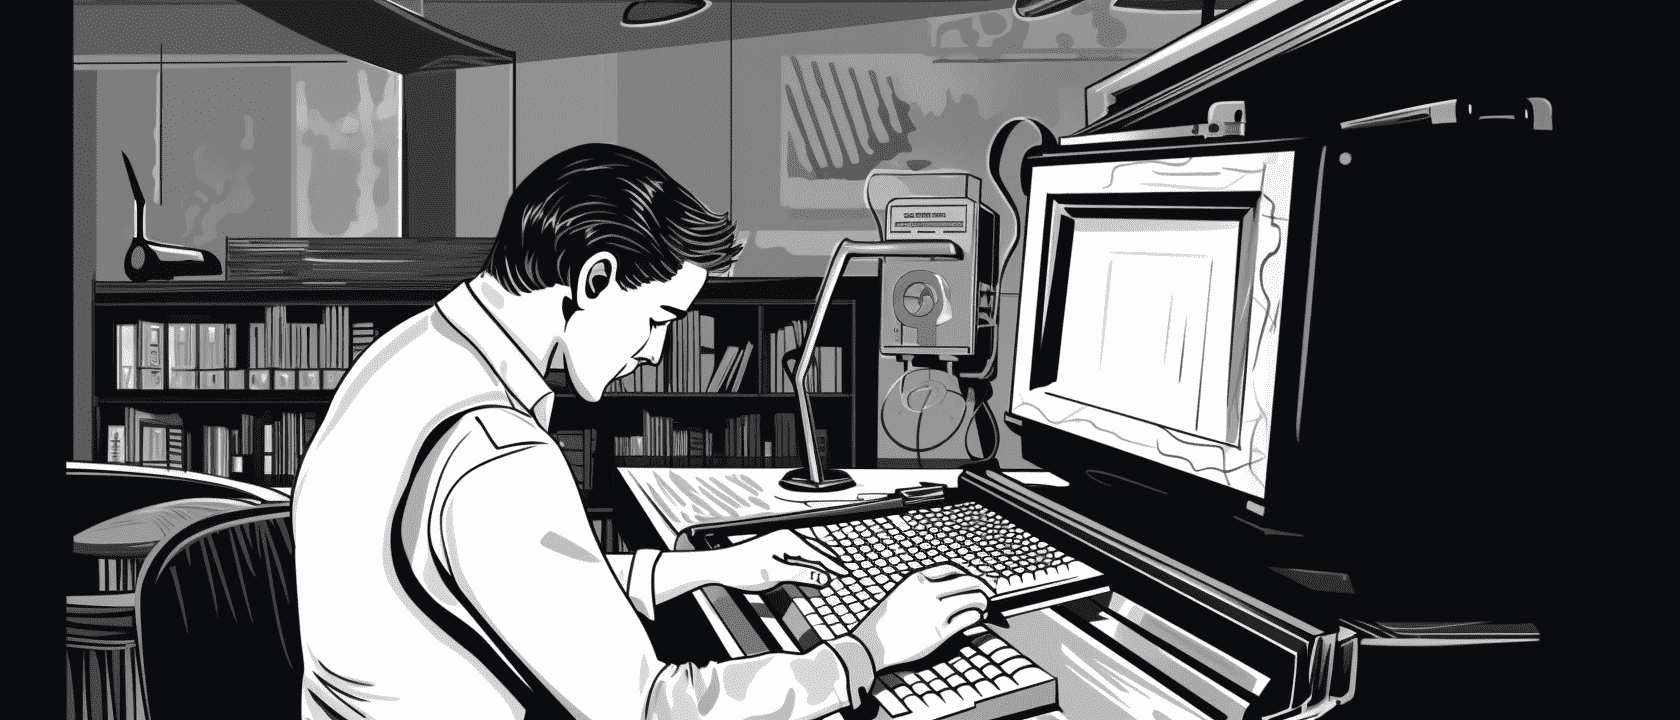
Hey there! I'm Alex, a graphic designer who decided to take on the monumental task of creating DIY letterpress wedding invitations for my soon-to-be wife, Emily. Why, you ask? Well, I wanted to add a personal touch to our special day.
Full disclosure: I was a bit nervous about messing it up. But here's how I did it, and you can too!
Why Letterpress?
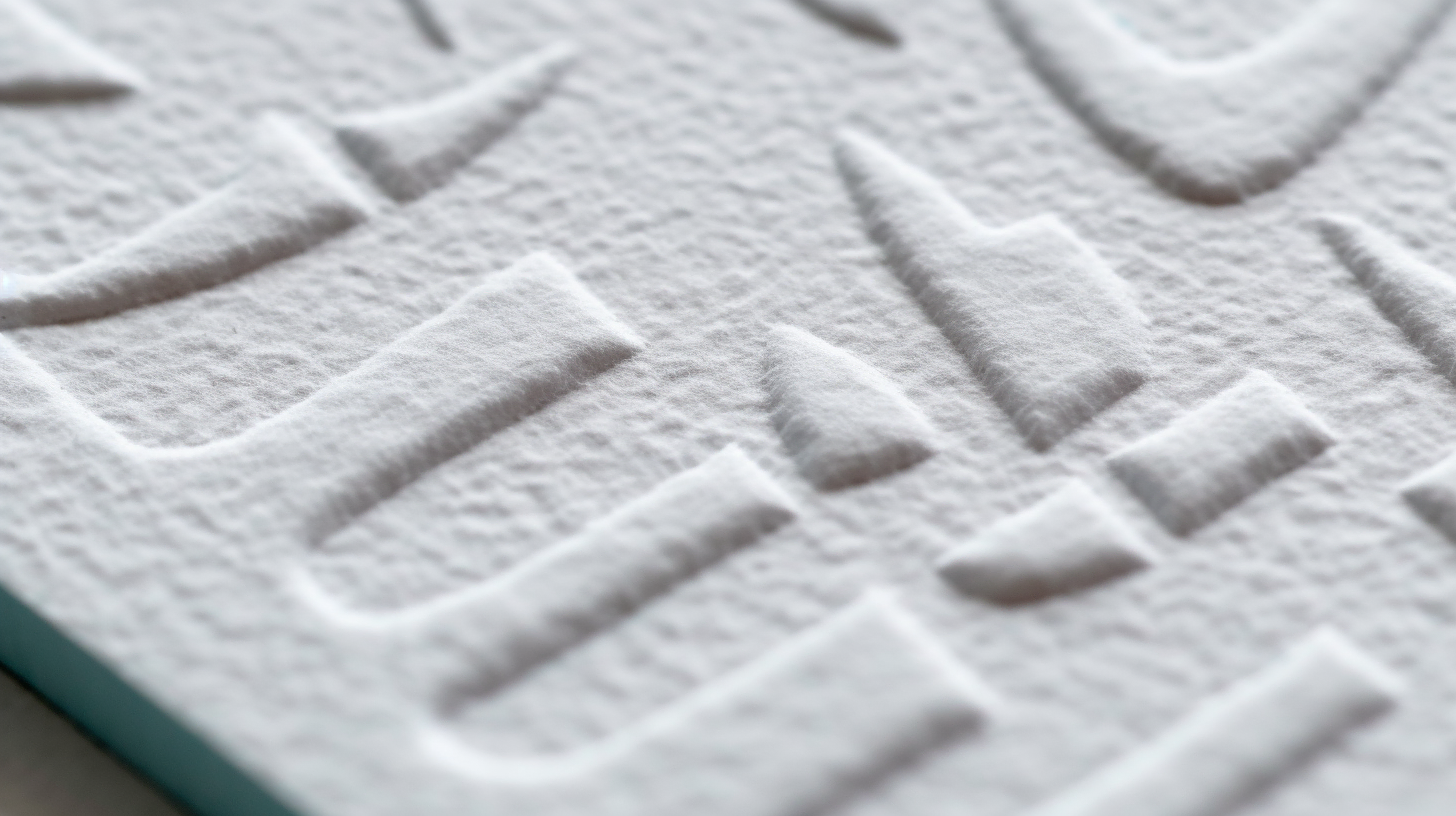
First off, let's talk about why letterpress is such a big deal. There's something incredibly timeless and tactile about it. The debossed effect, the rich colors—it's art and tradition all rolled into one.
Budget Considerations
Before diving in, I had to consider the budget. Professional letterpress invitations can cost a small fortune. So, I did some math:
- Professional letterpress: $10-$30 per invite
- DIY letterpress: Around $4 per invite
It was a no-brainer for me, especially since I was looking to save some bucks.
Tools & Materials Needed
Alright, let's get down to business. You'll need some tools and materials to get started:
- Letterpress platform
- Portable roller machine
- High-quality paper
- Ink
- Soft rubber brayer
- Photopolymer plates
I got most of my supplies online, and even snagged a 50% off coupon for the roller machine. Score!
Designing the Invitations
Designing the invites was both exciting and nerve-wracking. I mean, these invites were going to set the tone for our wedding!
I started by jotting down all the essential details—who's hosting, who's getting married, when, and where. Then, I moved on to the creative part.
Creating or Buying the Letterpress Plates
Now, you've got two options here: make your own plates or buy pre-made ones. I was tempted to make my own, but given my nervousness and time constraints, I opted for pre-made plates.
The Printing Process
Once everything was set, it was time for the actual printing. I won't lie; I was sweating bullets at this point.
I set up the letterpress platform, carefully aligned the plates, and did a few test runs. After some trial and error, it finally looked right.
Quality Control
Quality is key, especially when it comes to something as important as your wedding invites. I did multiple test runs to make sure everything was perfect.
If something looked off, I went back to the drawing board. It was tedious, but totally worth it.
Assembly and Final Touches
Once the printing was done, it was time for assembly. I had RSVP cards, thank-you cards, and the main invites to put together.
I used a special glue tape for assembly. It's quick, clean, and super effective. Trust me, you don't want to skimp on this part.
Time Commitment
Let's talk about the elephant in the room: time. This project took me a good 20 hours from start to finish. So, if you're considering this, make sure you've got the time to spare.
Conclusion
So there you have it, folks! Crafting your own letterpress wedding invitations is a rewarding but time-consuming process. If you're up for the challenge, go for it!
However, if you're not quite ready to take the plunge, that's totally okay. Partnering with a local or online letterpress shop like Mint Letterpress is a fantastic alternative. They offer quality, professionalism, and peace of mind—something you can't put a price on.